Image guides
How to Convert Any Image to PNG in Your Browser
Any to PNG accepts several common image formats and converts whichever one you upload to lossless PNG. This guide shows how to use it, and how it differs from a dedicated single-pair converter.
Ready to try the tool this guide describes?
What you need
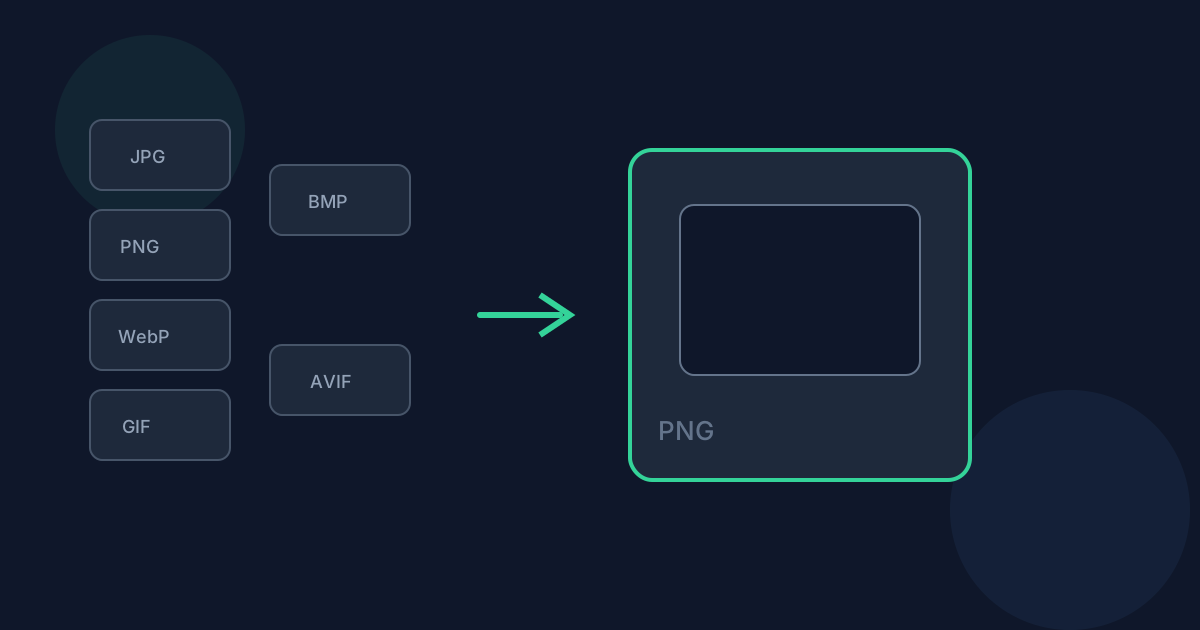
Open Any to PNG in a modern browser. This flexible converter accepts JPG, JFIF, PNG, WebP, GIF, BMP, or AVIF files, with a 25 MB file limit and an 8,192 pixel max per side. HEIC and TIFF are not accepted.
Step-by-step conversion
Transparency is kept when the detected source has an alpha channel. Animated GIF: only the first frame is converted. Animated WebP: the output is always a still image; animation is not preserved.
- Open /tools/any-to-png.
- Choose a file in any accepted format — the real format is detected from the file content, not its name.
- Select Convert & download and save the resulting .png file.
Privacy
Conversion runs locally in your browser using native browser image decoding. The file is not uploaded to Looty Tools servers for this workflow.
Convert Any Image to PNG FAQ
- How is this different from JPG to PNG or WebP to PNG?
- Those dedicated tools accept only one specific source format. Any to PNG accepts several formats at once and detects which one you uploaded, which is convenient when you are not sure what a file actually is.
- Does this accept HEIC or TIFF?
- No. Use the dedicated HEIC to PNG or TIFF to PNG converters for those formats.
- Is there a quality slider?
- No — PNG output here is lossless.
- Are my files uploaded?
- No. Conversion runs locally in your browser and does not upload your file to Looty Tools servers.
- What if my file does not match any accepted format?
- The tool rejects it before decoding with a clear error, rather than guessing or producing a broken download.
Related guides
- JPG vs PNG vs WebPCompare JPG, PNG, and WebP for file size, transparency, and compatibility so you can choose the right output for Any to JPG, Any to PNG, or Any to WebP.
- Convert Any Image to JPGConvert JPG, JFIF, PNG, WebP, GIF, BMP, or AVIF images to JPG locally: choose a file of any accepted format, adjust JPEG quality, and download the result.
- Convert Images Without UploadingLearn what browser-local image conversion means on Looty Tools, what stays on your device, and how Image Converter avoids a conversion upload.